
If you’re anything like me, shooting couples is a breeze. Especially when I first started, I was incredibly comfortable shooting elopements, engagements, and, of course, the bride and groom. However, shooting groups was a different story. The unpredictability of group photography at a wedding made me nervous. But as I continued to grow and learn, group photography soon became something I looked forward to rather than dreaded. Getting the most out of wedding photography group poses is much more than just taking photos of the wedding party and moving on.
So, how exactly should you think about wedding photography group poses?
Let me show you!
The Importance of Group Shots in Wedding Photography
Before we discuss everything you need to know about wedding group photography poses, let’s consider their significance and why you shouldn’t write off group photography.
While I completely understand that you develop a relationship with the bride and groom, capturing their loved ones, both friends and family play a major role in how they remember their wedding.
Every moment captured at a wedding is more than just a photo; it’s a cherished memory frozen in time. For every couple, family and friends may not always be around. Capturing these special moments with them means the bride and groom can hold onto and share these precious memories forever.
Challenges and Skills Required for Photographing Groups
Capturing group photography at weddings is incredibly special for the bride and groom, but achieving high-quality shots can be challenging.
Finding diverse and dynamic poses for each group shot can be time-consuming and difficult, often requiring endless searching for fresh ideas.
But it doesn’t have to be this way.
A few techniques and principles you can implement now can drastically improve your wedding group poses.
Techniques for Great Group Photos
Editorial vs. Symmetrical Group Photo Poses
When you think about group photography, I’m sure inauthentic poses from the 1950s come to mind. While that is a wedding photography style, most couples aren’t looking for it. That’s not to say this style doesn’t have value, but it’s your job as the photographer to bring your and the client’s creative vision to life.
So, how exactly should you think about group photography?
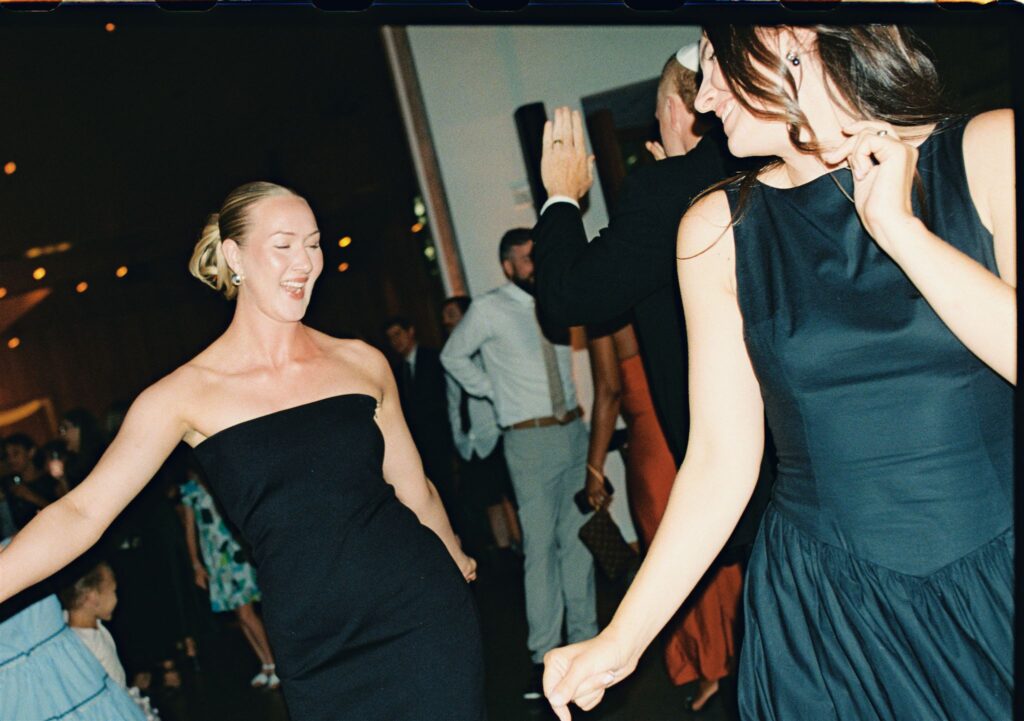
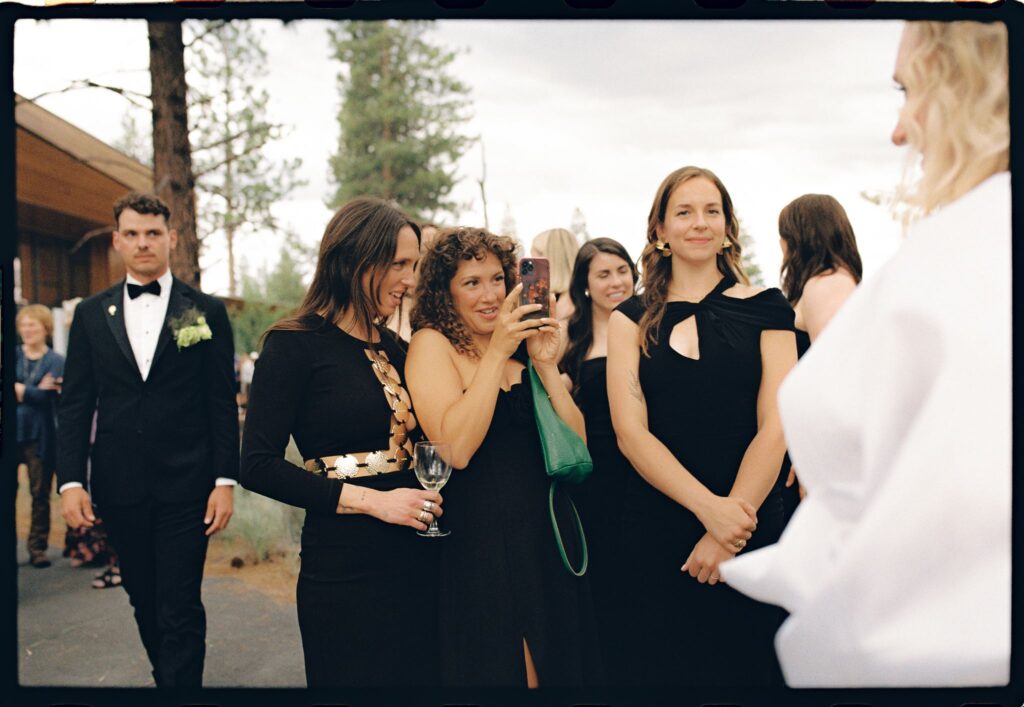
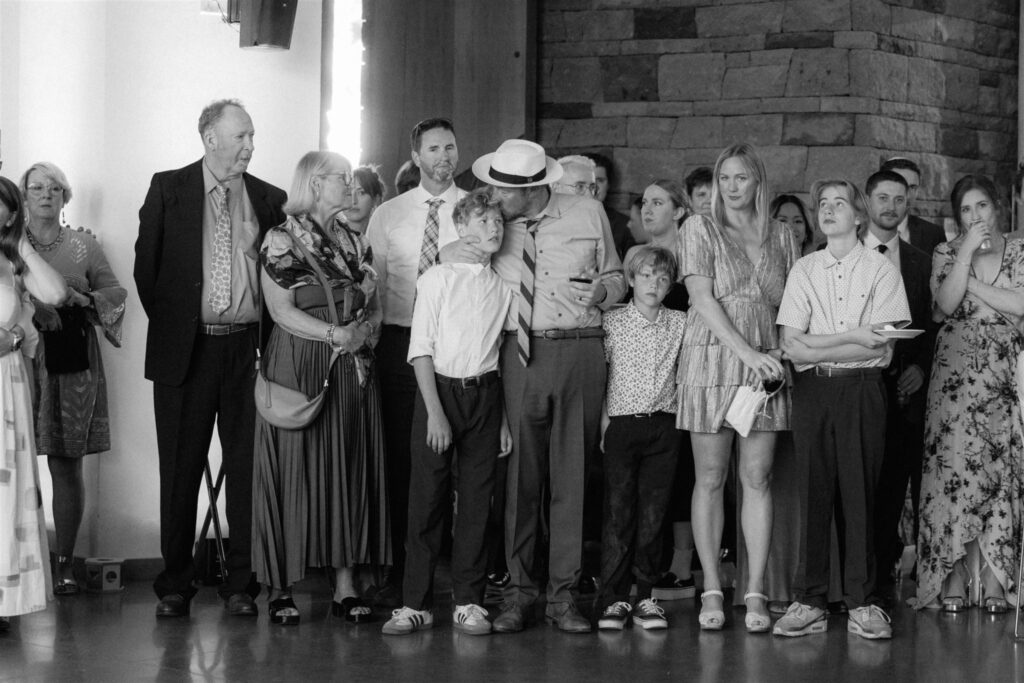
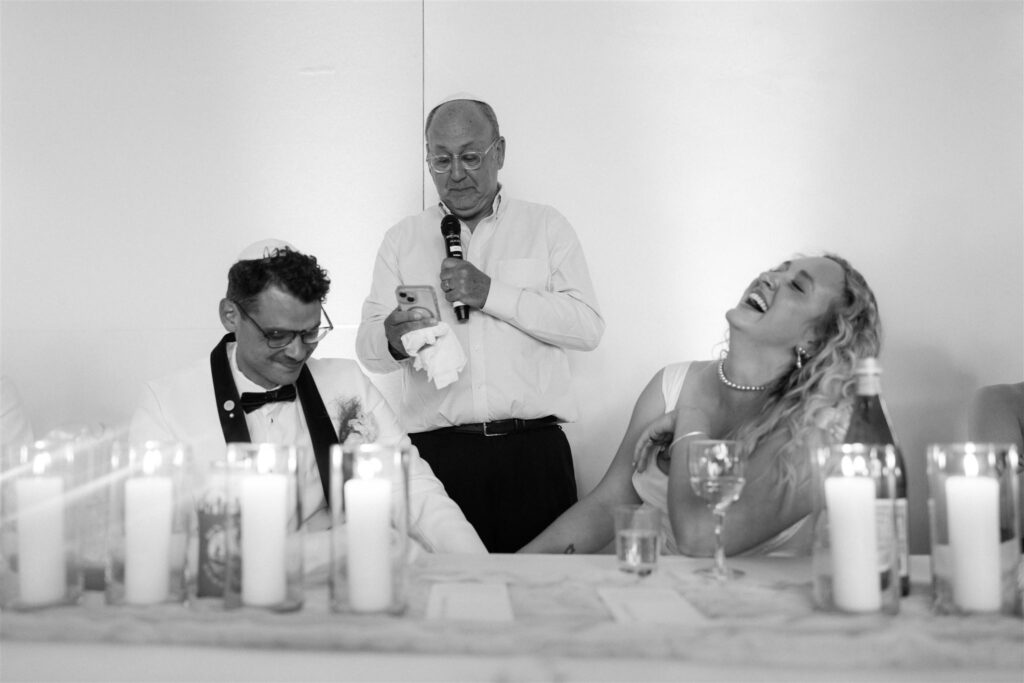
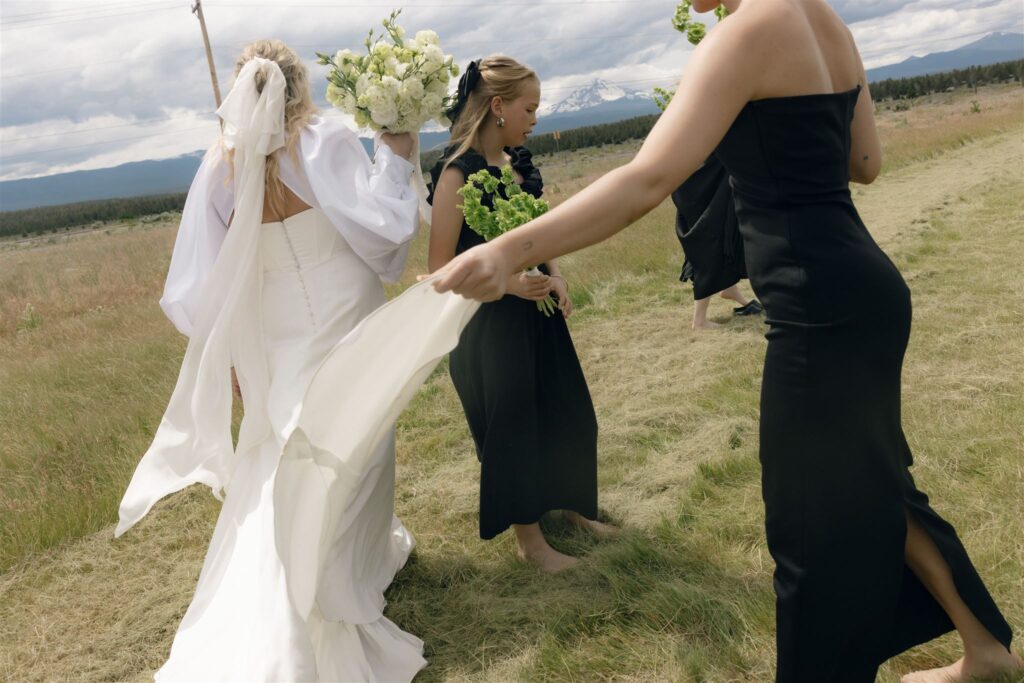
In most cases, the group photography desired by the bride and groom is candid. Scroll through any wedding photographer (mine included), and you’ll find a near-endless feed of candid photographers.
Many wedding couples are interested in candid photography because it captures the genuine experience of the wedding.
This style is because, as photographers could move from film to digital photographs, we weren’t handicapped by the number of photos we could take. If you have digital storage and battery life, you can shoot a seemingly endless supply of photographs.
Because of this technology change, traditional posed photography feels like our parents’ wedding photographs. It is still beautiful, just slightly out of vogue.
This brings me to my first point: before capturing the wedding, be sure to finalize with the bride and groom what kind of group photography they are interested in: documentary-style candid photography or traditional posed photography.
Most couples will answer with a combination of both, but once the reception kicks off into an actual party, you will no doubt want to grab as many candids as possible.
Create and Follow a Game Plan
One of the keys to successful group photography at weddings is to create and follow a game plan. By having a strategy in place, you can ensure that you capture all the important moments without feeling rushed or overwhelmed. Here’s how to do it:
Pre-Determining Group Compositions
Before the wedding day, it’s essential to have a conversation with the bride and groom about their expectations for group photos. This includes discussing the various group compositions they want, such as family members, bridal party, and friends. By understanding their preferences, you can plan your shots accordingly.
- Family Shots: Typically, these are the most important group photos. Make a list of immediate family members and extended family members that the couple wants in the photos.
- Bridal Party: Discuss how the couple wants to arrange the bridal party. Some prefer a more traditional line-up, while others prefer a more relaxed, informal grouping.
- Friends and Special Guests: Identify any friends or special guests the couple wants to ensure are photographed.
A clear idea of these group compositions will save you time and stress on the wedding day.
Flexibility in Creating a Physical List
While planning is crucial, it’s also important to remain flexible. Weddings can be unpredictable, and last-minute changes are common. Create a physical list of the group compositions, but be prepared to adapt as needed!
- Printed List: Print a list of all the planned group shots. This will help you stay organized and ensure you don’t miss any important photos.
- Assistant or Coordinator: If possible, work with an assistant or the wedding coordinator to help gather people for group photos. This lets you focus on capturing the perfect shot rather than tracking down family members.
- Be Adaptable: Be ready to adjust your plan based on the flow of the day. Sometimes, spontaneous group photos can turn out to be the most memorable.
By pre-determining group compositions and having a flexible approach, you’ll be better equipped to handle the challenges of wedding group photography. Remember, the goal is to create lasting memories for the couple and their loved ones.
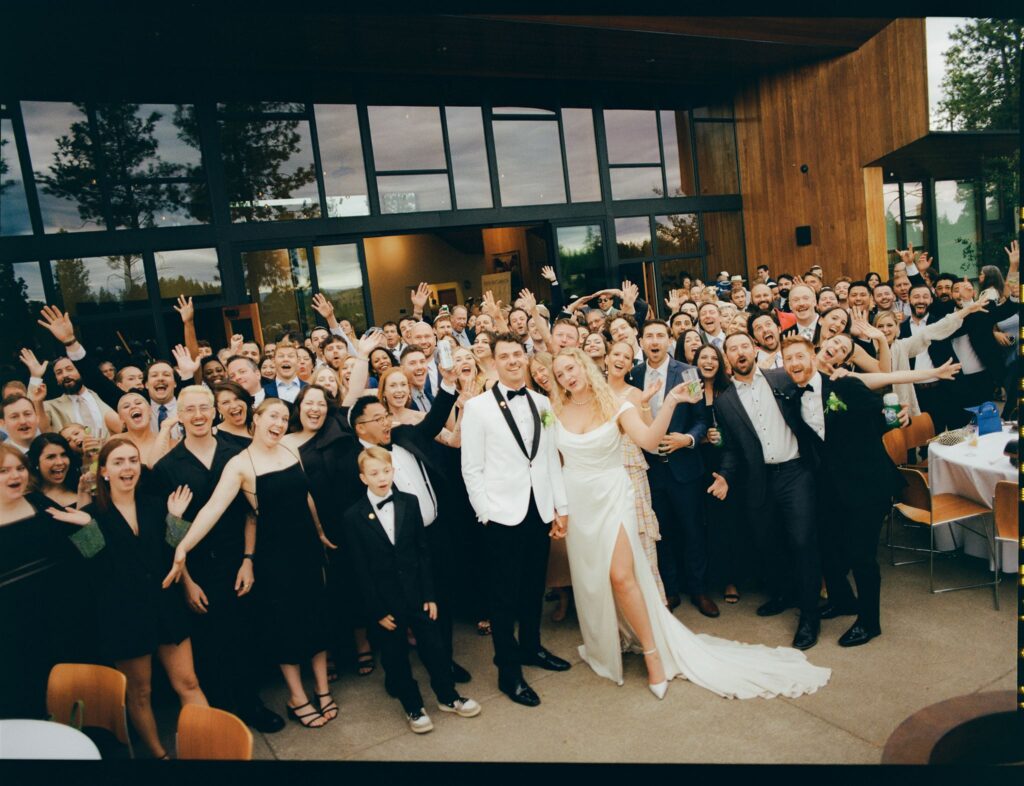
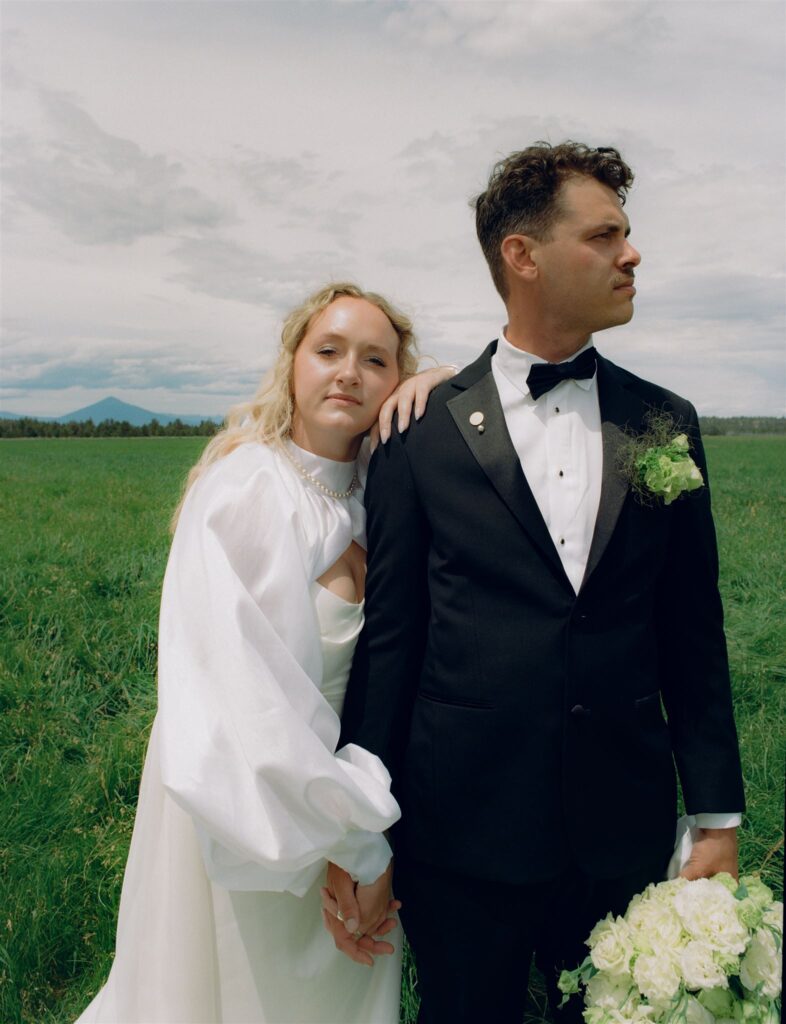
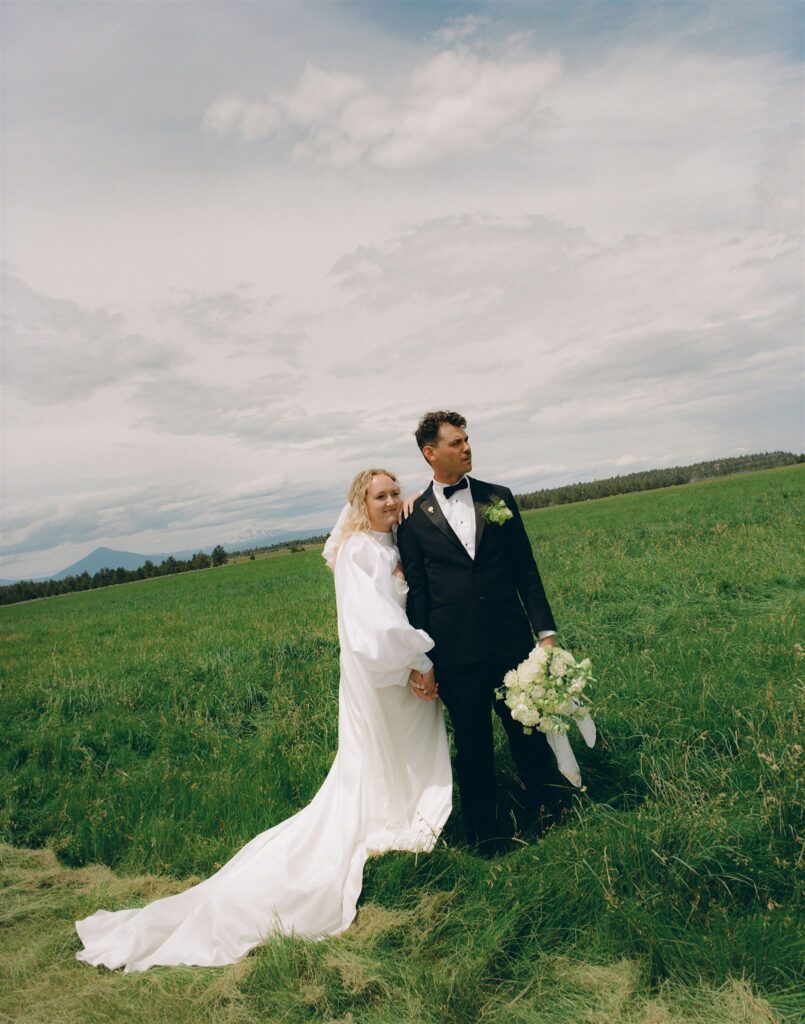
Start with the Couple
When it comes to wedding group photography, a great approach is to start with the couple and build the group outward from the center. This technique helps to create a balanced and cohesive composition that naturally draws the viewer’s attention to the bride and groom. Here’s how you can effectively implement this strategy:
Centering the Pose with the Couple
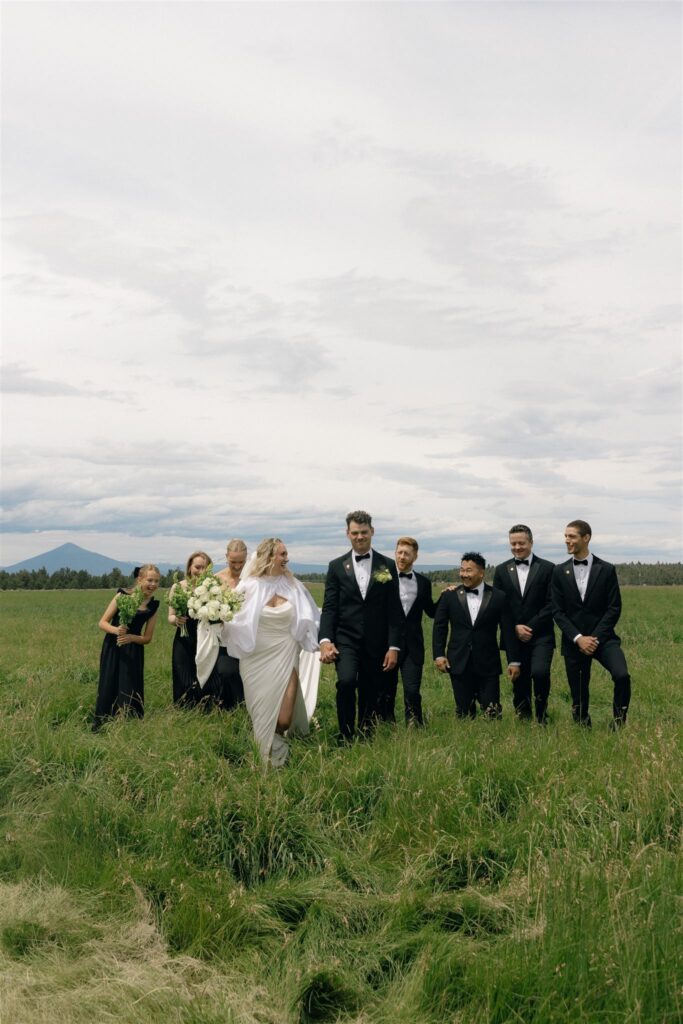
- Positioning the Couple: Begin by positioning the bride and groom in the center of the frame. This central placement ensures that they remain the photograph’s focal point, which is important for wedding group shots.
- Interaction and Connection: Encourage the couple to interact naturally. Whether holding hands, looking into each other’s eyes, or sharing a laugh, these genuine moments add warmth and authenticity to the photo.
- Posing the Couple: Depending on the couple’s preference, you can choose between a more formal pose or a relaxed, candid style. The key is to ensure that the couple feels comfortable and that their connection is evident in the photograph.
Building the Group Outward from the Center
- Immediate Family: Once the couple is centered, begin adding immediate family members. Place parents, siblings, and grandparents close to the couple. This not only emphasizes their importance but also helps to create a tight-knit group composition.
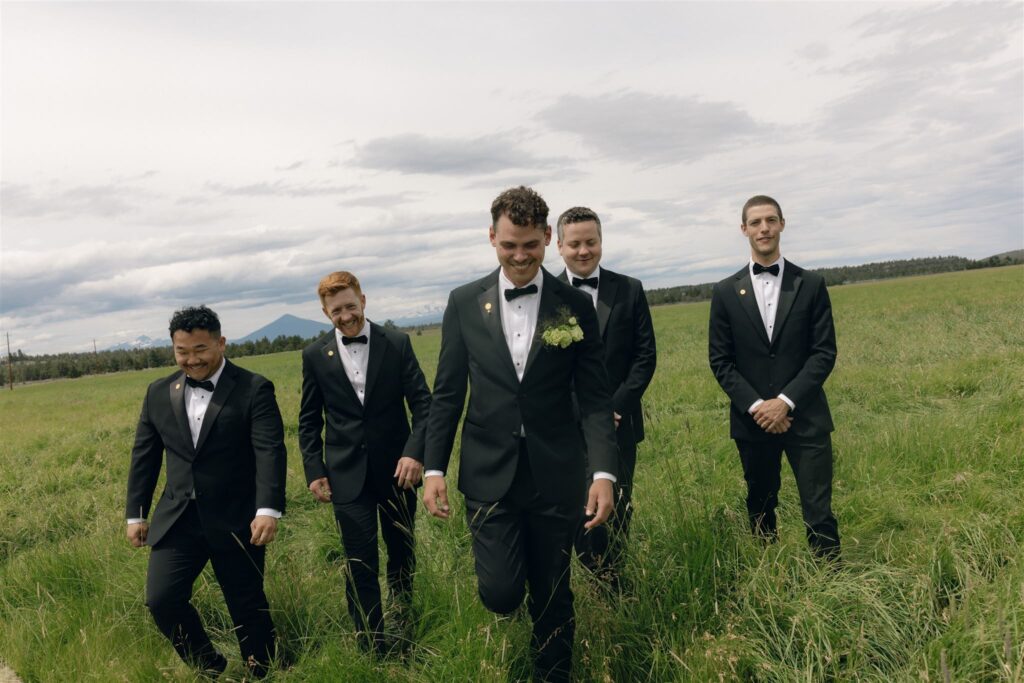
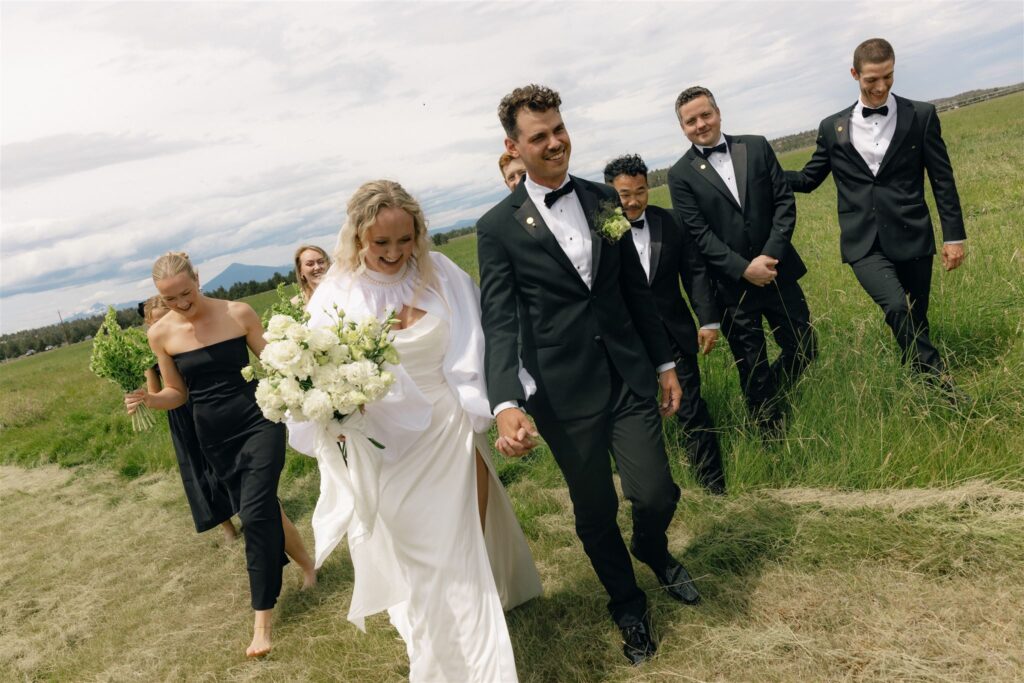
- Bridal Party: Next, incorporate the bridal party. Bridesmaids and groomsmen can be positioned symmetrically on either side of the couple. If the bridal party is large, you can stagger their placement to create depth and interest in the photo.
- Friends and Extended Family: Add friends and extended family members to the composition. These individuals can be positioned in the outer areas of the frame, filling in gaps and completing the group photo. Ensure that everyone is visible and no one is hidden behind others.
- Layering and Levels: To add dimension to your group shots, consider layering and varying the levels. For instance, you can have some people seated, some standing, and others leaning. This creates a dynamic and visually appealing composition.
- Check Symmetry and Balance: Before taking the shot, take a moment to check the symmetry and balance of the group. Adjust placements if necessary to ensure that the photo feels harmonious and everyone is well-positioned.
Light Accordingly
Proper lighting is crucial for capturing beautiful and memorable wedding group photos. Understanding the importance of simplicity and efficiency in lighting can help you achieve stunning results without overwhelming yourself or your subjects. Here’s how to approach lighting for both editorial and symmetrical group photos:
Importance of Simplicity and Efficiency in Lighting
- Natural Light: Whenever possible, utilize natural light. It’s flattering, easy to work with, and can create a soft, romantic ambiance that enhances wedding photos. Position your groups to face the light source, ensuring even illumination across all faces.
- Avoid Overcomplicating: Keep your lighting setup simple, especially when working on location with limited time. Complex lighting setups can be time-consuming and may distract from the spontaneity and joy of the moment.
- Use Reflectors: Reflectors are a versatile and portable tool to help bounce natural light onto your subjects, reducing shadows and adding a pleasing fill light. They are especially useful in outdoor settings.
- Flash and Diffusers: When natural light isn’t sufficient, use a flash with a diffuser to soften the light and avoid harsh shadows. External flash units are preferable as they offer more control and can be positioned off-camera for better results.
Techniques for Lighting Editorial vs. Symmetrical Group Photos
- Editorial Group Photos:
- Directional Lighting: For editorial-style group photos, which often aim for a more artistic and candid feel, use directional lighting to create depth and interest. Position your light source at an angle to highlight contours and create subtle shadows.
- Side Lighting: Side lighting can add drama and texture, making the photo feel more dynamic. This technique works well for capturing interactions and expressions within the group.
- Environmental Lighting: Use available light sources such as window light, chandeliers, or even outdoor lamps to create a natural and authentic atmosphere.
- Symmetrical Group Photos:
- Even Lighting: Aim for even, balanced lighting that illuminates everyone uniformly for symmetrical group photos. Position your light source directly before the group or use multiple light sources to ensure no one is in shadow.
- Fill Light: Use fill lights or reflectors to reduce shadows and maintain a consistent light level across the entire group. This is particularly important for large groups where the lighting needs to reach individuals at the edges.
- Avoid Hot Spots: Ensure that your lighting is diffused and soft to prevent hot spots, which can be distracting and unflattering.
- Mixed Lighting Techniques:
- Combining Techniques: In many cases, you might need to combine editorial and symmetrical lighting techniques. For example, you can start with even lighting for the group shot and then add a touch of side lighting for a bit of artistic flair.
- Quick Adjustments: Be prepared to make quick lighting adjustments as needed. Weddings are fast-paced events, and the ability to adapt your lighting setup on the fly will help you capture the best possible shots.
Prioritize Aperture
Aperture plays a crucial role in achieving sharp and well-focused group photos. By prioritizing the right aperture settings, you can ensure that all subjects are clearly visible and focused. Here’s how to effectively use aperture in wedding group photography:
Using a Narrower Aperture for a Wider Plane of Focus
- Choosing the Right Aperture: A narrower aperture (higher f-stop number, such as f/8 to f/11) is typically recommended for group photos. This increases the depth of field, ensuring that everyone in the group is in focus from front to back.
- Balancing Light: While a narrower aperture allows for a greater depth of field, it also reduces the amount of light entering the camera. To compensate, you may need to adjust your ISO or shutter speed, or use additional lighting to maintain proper exposure.
- Avoiding Blurry Subjects: A wider plane of focus prevents individual subjects from appearing blurry, which is particularly important in larger groups where some individuals may be further away from the camera than others.
Tips for Lining Up Subjects on the Same Plane of Focus
- Positioning: Arrange your subjects so they are as close to the same distance from the camera as possible. This Minimizes the risk of some subjects being out of focus. For example, position taller individuals slightly behind shorter ones rather than in a straight line.
- Staggering: If the group is large, stagger the rows so everyone’s face is visible. Ensure that the rows are not too deep, keeping everyone within a similar distance from the lens.
- Using Markers: Place markers on the ground to help guide where each person should stand. This ensures that everyone is correctly positioned and within the plane of focus.
- Leveling Heights: For groups of varying heights, consider using props like benches or stairs to level the height differences, keeping everyone’s faces at a similar level for uniform focus.
- Directing Subjects: Communicate clearly with your subjects to ensure they understand where to stand and how to position themselves. A well-organized group will result in better-focused photos.
- Checking Focus: If available, use your camera’s depth of field preview function to check the focus across the group. This allows you to make any necessary adjustments before taking the final shot.
- Using Live View: Consider using your camera’s live view mode for precise focusing, especially in large groups. This can help you fine-tune the focus and ensure everyone is sharp.
Capturing Perfect Group Poses with Confidence

Group photography at weddings can be daunting, but it becomes an enjoyable and rewarding part of the day with the right approach and mindset. Remember, the key is to balance planning with flexibility, technical skill with creativity, and efficiency with attention to detail.
By starting with the couple and building outward, effectively using natural and supplemental lighting, and prioritizing the right aperture settings, you can create group photos that are not only technically sound but also emotionally resonant.Each shot you take is a piece of the couple’s story, a moment they will treasure forever.
So, take a deep breath, trust your abilities, and enjoy the process. Every wedding is unique, and your ability to capture those fleeting moments of joy, love, and connection makes your work as a wedding photographer so special. Keep experimenting, keep learning, and most importantly, keep connecting with your clients. They chose you to capture one of the most important days of their lives, and with these tips and techniques, you’ll deliver memories that they’ll cherish for a lifetime.
Happy shooting!
Mastering group poses at weddings is about more than just arranging people; it’s about capturing genuine moments that resonate. If you’re ready to elevate your wedding photography and step into each shoot with confidence, consider enrolling in the Intuitive Posing Course. This course provides the tools and insights to guide clients into natural, captivating poses, blending technical skill with artistic expression.
Don’t miss the chance to transform your approach and create photos that truly capture the essence of every moment. Enroll today and start your journey to mastering the art of intuitive posing.


View comments
+ Leave a comment